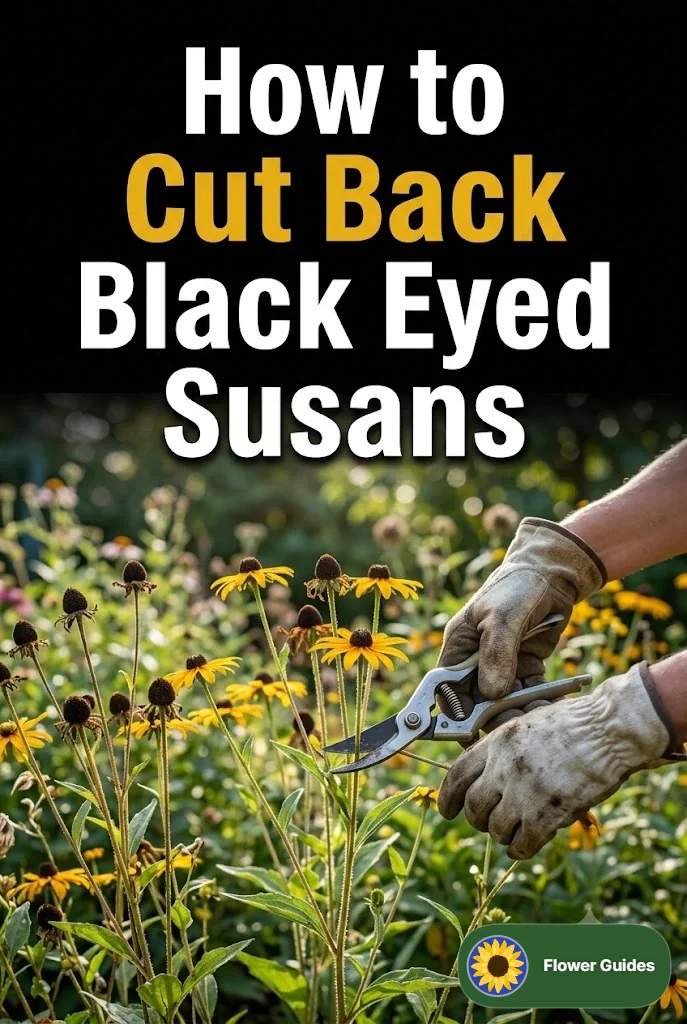
How to Cut Back Black Eyed Susans
Black-eyed Susans are beloved for their bright, cheerful blooms that add a pop of color to any garden. However, knowing when and how to cut them back can make all the difference in maintaining their health and vibrancy. Whether you’re looking to tidy up your garden or promote new growth, cutting back these perennials is a task that can enhance their beauty and longevity. Let’s explore the best techniques and tips for cutting back Black-eyed Susans effectively.
Understanding Black-eyed Susans
Black-eyed Susans (Rudbeckia hirta) are hardy perennials that thrive in a variety of conditions. These plants typically bloom from mid-summer to fall, showcasing their distinctive yellow petals and dark brown centers. They are drought-resistant and attract pollinators, making them a fantastic addition to any garden. However, proper care, including cutting back, is essential for optimal growth.
Why Cut Back Black-eyed Susans?
Cutting back Black-eyed Susans serves several purposes:
- Promotes New Growth: Pruning encourages fresh foliage and blooms for the next growing season.
- Prevents Disease: Removing dead or damaged leaves helps prevent fungal issues and pests.
- Enhances Appearance: Tidying up the plants can create a more polished garden look.
When to Cut Back Black-eyed Susans
The timing of your pruning is crucial for the health of your plants. Here’s when you should consider cutting them back:
Post-Bloom Care
After the blooms have faded in late fall, cutting back Black-eyed Susans is recommended. This timing allows the plant to store energy in its roots before the winter. However, you can also leave some seed heads for winter interest and to provide food for birds.
Spring Cleanup
In early spring, before new growth begins, you can cut back any remaining dead stems and foliage. This will allow sunlight to reach the new shoots and ensure they grow strong and healthy.
How to Cut Back Black-eyed Susans: A Step-by-Step Guide
Follow these steps to effectively cut back your Black-eyed Susans:
Tools You’ll Need
- Pruning shears or garden scissors
- Gloves (optional, for protection)
- Garden fork or trowel (for dividing if necessary)
Step 1: Assess the Plant
Before you start cutting, take a good look at the plant. Identify any dead or damaged stems and foliage. This will help you determine how much to cut back.
Step 2: Cut Back to the Ground
Using your pruning shears, cut back the stems to about 2-3 inches above the ground. This will help promote new growth while keeping the plant tidy.
Step 3: Remove Debris
Clear away any dead leaves or debris from around the base of the plant. This helps prevent disease and ensures better air circulation.
Step 4: Consider Division
If your Black-eyed Susans are becoming crowded, consider dividing them every 3-4 years. This can be done in early spring. Use a garden fork to gently lift the clumps and replant them in new locations.
Common Mistakes to Avoid
While cutting back Black-eyed Susans is relatively straightforward, there are a few common mistakes to watch out for:
- Cutting Too Early: Avoid cutting back too early in the fall, as it can expose the plant to winter damage.
- Neglecting to Clean: Failing to remove dead leaves can lead to fungal diseases.
- Over-Pruning: Be cautious not to cut back too much; leave some foliage to aid photosynthesis.
Pinterest-Style Ideas for Your Garden
If you’re looking to enhance your garden with Black-eyed Susans, consider these inspiring ideas:
- Mixed Borders: Combine Black-eyed Susans with purple coneflowers for a stunning color contrast.
- Wildflower Meadows: Plant them alongside other native wildflowers for a naturalistic look.
- Container Gardens: Use them in pots for a vibrant patio display that can be moved around.
- Cut Flower Bouquets: Snip some blooms for cheerful arrangements in your home.
Expert Tips for Black-eyed Susans Care
Here are some insider tips to keep your Black-eyed Susans thriving:
- Mulching: Apply a layer of mulch around the base to retain moisture and suppress weeds.
- Watering: Water regularly during dry spells, especially in the first year of planting.
- Fertilizing: Use a balanced fertilizer in early spring to give them a nutrient boost.
Common Questions About Black-eyed Susans
1. How often should I cut back my Black-eyed Susans?
Cut them back in late fall after blooming and again in early spring to remove any dead foliage.
2. Can I leave the seed heads for winter?
Yes! Leaving the seed heads can provide food for birds and add visual interest to your winter garden.
3. Will cutting back promote more flowers?
Yes, cutting them back encourages new growth, which can lead to a healthier plant and more blooms.
4. Are Black-eyed Susans invasive?
While they can spread, they are generally not considered invasive if managed properly.
5. What pests should I watch out for?
Be on the lookout for aphids and spider mites, which can affect the health of your plants.
Conclusion
Cutting back Black-eyed Susans is a rewarding task that can enhance the beauty of your garden. With the right timing and techniques, you can ensure these vibrant flowers continue to thrive year after year. Embrace the process, and soon you’ll enjoy a flourishing display of color that brightens your space and attracts pollinators. Happy gardening!